How to Overcome Google Chrome Warning and Checklist to HTTPS Implementation?
7 mins read
After a few years of Google recognizing HTTPS as an important means for a ranking signal, several webmasters have been switching from HTTP to the HTTPS version of the websites. Since e-commerce site owners find it difficult to operate without a secured encryption, more and more of them are finding that HTTPS has become the only logical choice for their website
What many of the eCommerce site owners may likely not realize , Google will be providing a warning message in the webmaster tool that states that the new version of Google Chrome will show a non-secure warning for all HTTP versions of e-commerce websites.
This can create some confusion for some site owners. If you are still using the HTTP version of your e-commerce website and have some challenges about the new upcoming announcement that is scheduled to take place soon, then the information below may be helpful to you. It provides you with some much-needed knowledge about how to overcome Google Chrome’s warning as well as a checklist for implementation the HTTPS version.
1. The Verification Process
In order to know if the version you’re planning to update is www, begin by verifying the HTTPS version of the website along with the Google and Bing Webmaster tools.
2. Using 301Redirect
Implemented and permanently direct the SEO friendly 301 Direct on the non-preferred version, directing it to the (previously verified) HTTPS version.
3. Updating The Links
Update all key internal and external links, as well as the URLs internal links in other documents such as newsletters upon updating your e-commerce website to the new version.
4. Update links Used on social media
Use the HTTPS version of the URLs if you happen to use external links on various social media platforms.
5. Configuring sitemaps
After configuring your new sitemap using the new HTTPS URLs, submit it to Bing and Google’s webmasters.
6. Modifying ROBOTS.TXT with Updates
Update your existing robots.txt file along with other new sitemaps that have not been configured.
7. Verifying Robots.txt
Confirm the Robots.txt file ensuring that it does not block pages such as CMS, Product or other pages after it has been updated.
8. Configure the Canonical Tags
Be certain that the canonical tags point to the HTTPS version after it has been configured.
9. Updating the PPC/CSE
Landing pages should be updated with the PPC / CSE using the new HTTPS version of the URLs.
10. Backing up Older Versions
Obtain a backup of the Google Webmaster HTTPS versions (snapshot and details).
11. Re-Submitting Current Links
Re-submit the Links Disavow file in both Webmaster tools to make sure spammy links will not affect any parts of your site that have been recently verified.
12. Managing all URL Parameters
Using the Google and Bing webmaster tools, manage the URL parameters for the HTTPS version. You can do this by copying the URL parameter settings from the HTTP version as well as in the HTTPS version.
13. Updating Google Analytic Settings
To update Google Analytics Admin settings, selecting the “HTTPS ” version then save the settings.
14. Update any URLs that appear in Email Signatures
Use the new version of the URL to update all of your email signatures.
15. Verify the CDN
Make sure the existing CDN located on the website doesn’t create a problem after the site has been updated to the HTTPS version.
16. Re-design all Newsletters
Update all the links that have HTTPS URLs included and any internal links that appear in any newsletters. Plus, re-design areas such as auto-responder emails, newsletter templates, triggers, and any on-site pop-ups.
17. Create a New Plan for Your Newsletters
Wait for at least 4-5 days prior to the doing the upgrade, but be careful not to send out newsletters or other offers prior to that point.
18. Check the Codes
To make sure the images, the CSS, and the javascript URLs work well in the upgraded version double check them all prior to use.
19. Use the Best Timing When Performing Upgrades
Consider upgrading the website when the traffic is at its lowest -particularly for eCommerce stores.
20. Be Certain to Google’s Webmaster is Optimized
Optimize Google’s Webmaster crawl time by using ‘Crawl settings’. Also, minimize any requests sent per second, just prior to the upgrade becoming due.
21. Make Sure All Re-Directs are Updated
All of the updates to the new HTTPS version should be implemented with 301 Re-directs.
22. Use the 3rd Party’s Tracking Codes
Update all 3rd party tracking codes (such as Bing, Adwords, Conversion codes, Re-marketing codes, and Analytics codes) to the new HTTPS version and keep a backup of each of them.
23. Check all Extension Settings
Check the extension settings on the aisle hosted Blog as well as on the plugins, etc.
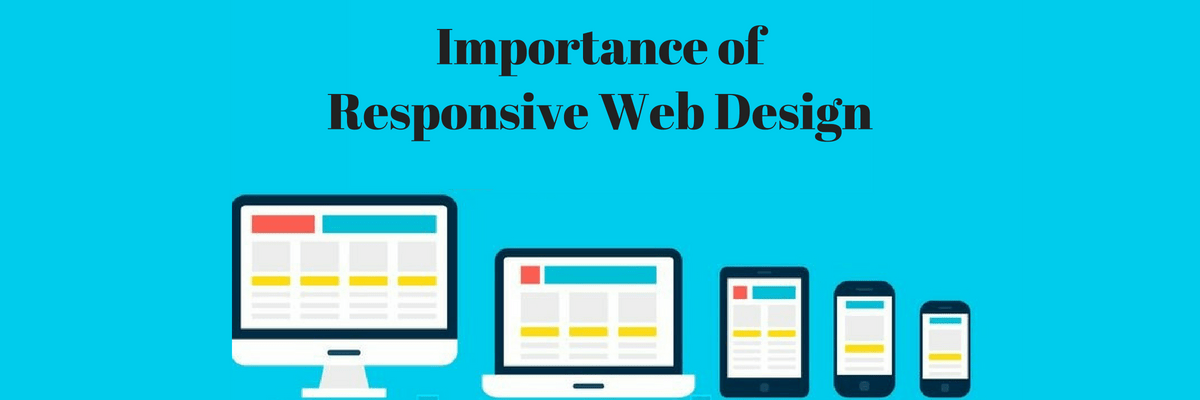
24. Evaluate all Mobile Versions for Responsiveness
In order to determine if the HTTPS URLs are responsive or non-responsive, first evaluate the mobile version of the website.
25. Re-submit any Removal Requests
Re-submit the removal request of the URLs in Google and Bing webmaster tools.
26. Update Dev Versions of Your Site
Be sure to update the Dev version of the website to HTTPS.
27. Check all of the 3rd Party Extensions
Checking the 3rd party extension ensures that the Website search is working properly in the upgraded version.
28. Use Online Tools to Validate the Https Version
When validating the new HTTPS version, use online tools such as W3c.
29. Compare the Page Speed of Both Versions
Compare the website page speed for the HTTP and the HTTPS versions by using the Google tool then afterwards implement any required changes.
30. Check the Social Sharing Extension
All social sharing extensions should work well on the updated version.
31. Configure the Data Highlighter
When using the Google Webmaster tools setting for the HTTPS version, configure the Data Highlighter.
32. Using Absolute vs Relative URLs
If a website is using both ‘Absolute and Relative URLs’, on a website, the Relative URLs will update to HTTPS automatically, whereas the Absolute URLs will need to be done manually.
33. Update URLs on External Links
To update the “301 redirects” use your external domains that you own.
34. Update any Blog Links
Update any internal blog links to include any images linked from blog posts.
35. RSS Feed Subscriptions
RSS subscription feeds should work with the upgraded version.
36. Get Your URLs Updated on 3rd Party Sites
Contact website owners/affiliates to update the URL using the new HTTPS version.
37. Use Updated URLs When Building Links
Update all links used in your link building strategy (including on forums and threads.)
38. Verify the Content for Updates and Similarities
Make sure that the content on the HTTP and HTTPS websites are similar.
39. Upgrade any SSL Certificates
Upgrade your website’s SSL certificate to SHA2 so that website pages such as Checkout, Category pages, and Product pages are supported.
40. Upgrade all 3rd Party SEO Tools
Submit any updated HTTPS version to 3 parties if you are using 3rd party SEO tools.
Keep in mind that HTTPS upgrades that are not performed properly can result in a reduction in visibility on the search results. This can leave owners with a lower site ranking. Those who do not make the switch at all could experience other consequences and very severe long-term effects, not to mention a bad reputation with Google.
![The Game Marketing Guide: Pre and Post-Launch Strategies [Infographic]](https://www.dotcominfoway.com/wp-content/uploads/2023/09/DCI-Game-Marketing-blog-1.jpg)
Latest Posts
 July 23, 2026
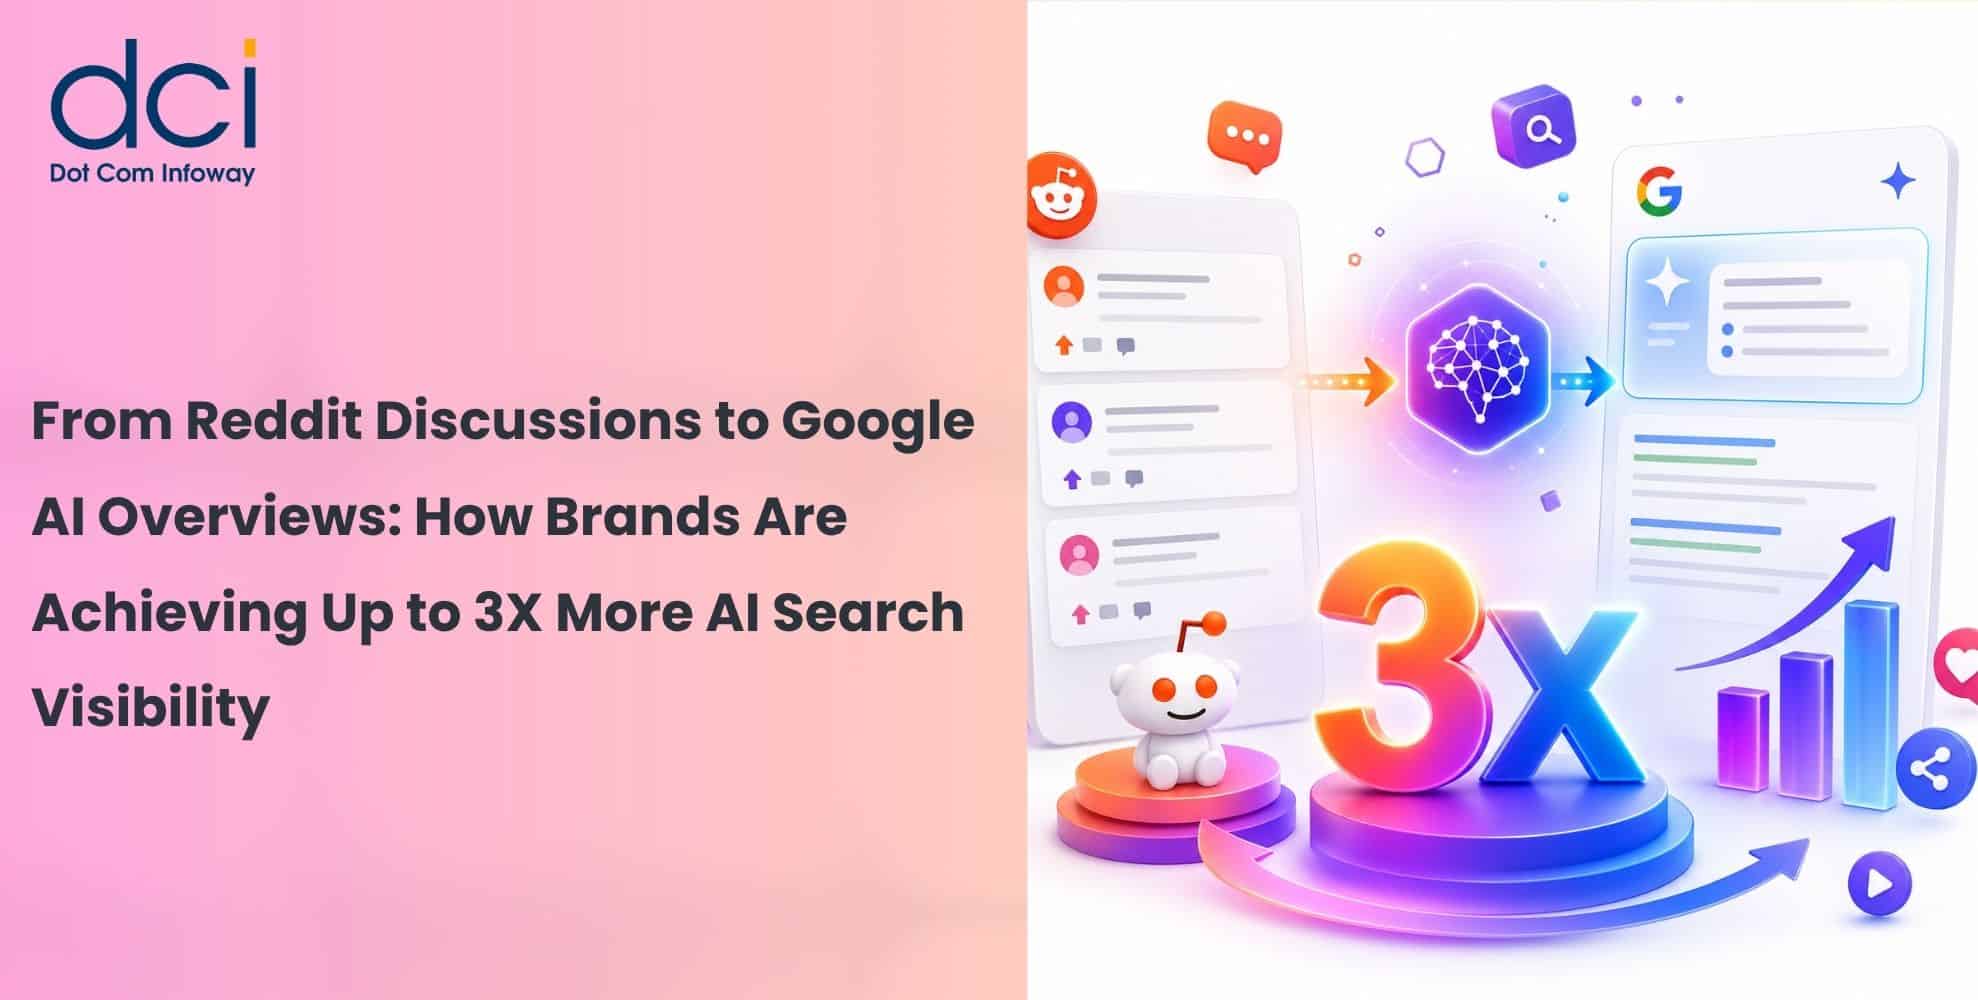
From Reddit Discussions to Google AI Overviews: How Brands Are Achieving Up to 3X More AI Search Visibility
The way users discover businesses is changing rapidly. Instead of relying only on traditional search results, people increasingly use Google AI Overviews, ChatGPT, Gemini, and Perplexity for direct recommendations. AI Search Optimization helps brands improve visibility across these AI-powered...
 July 20, 2026
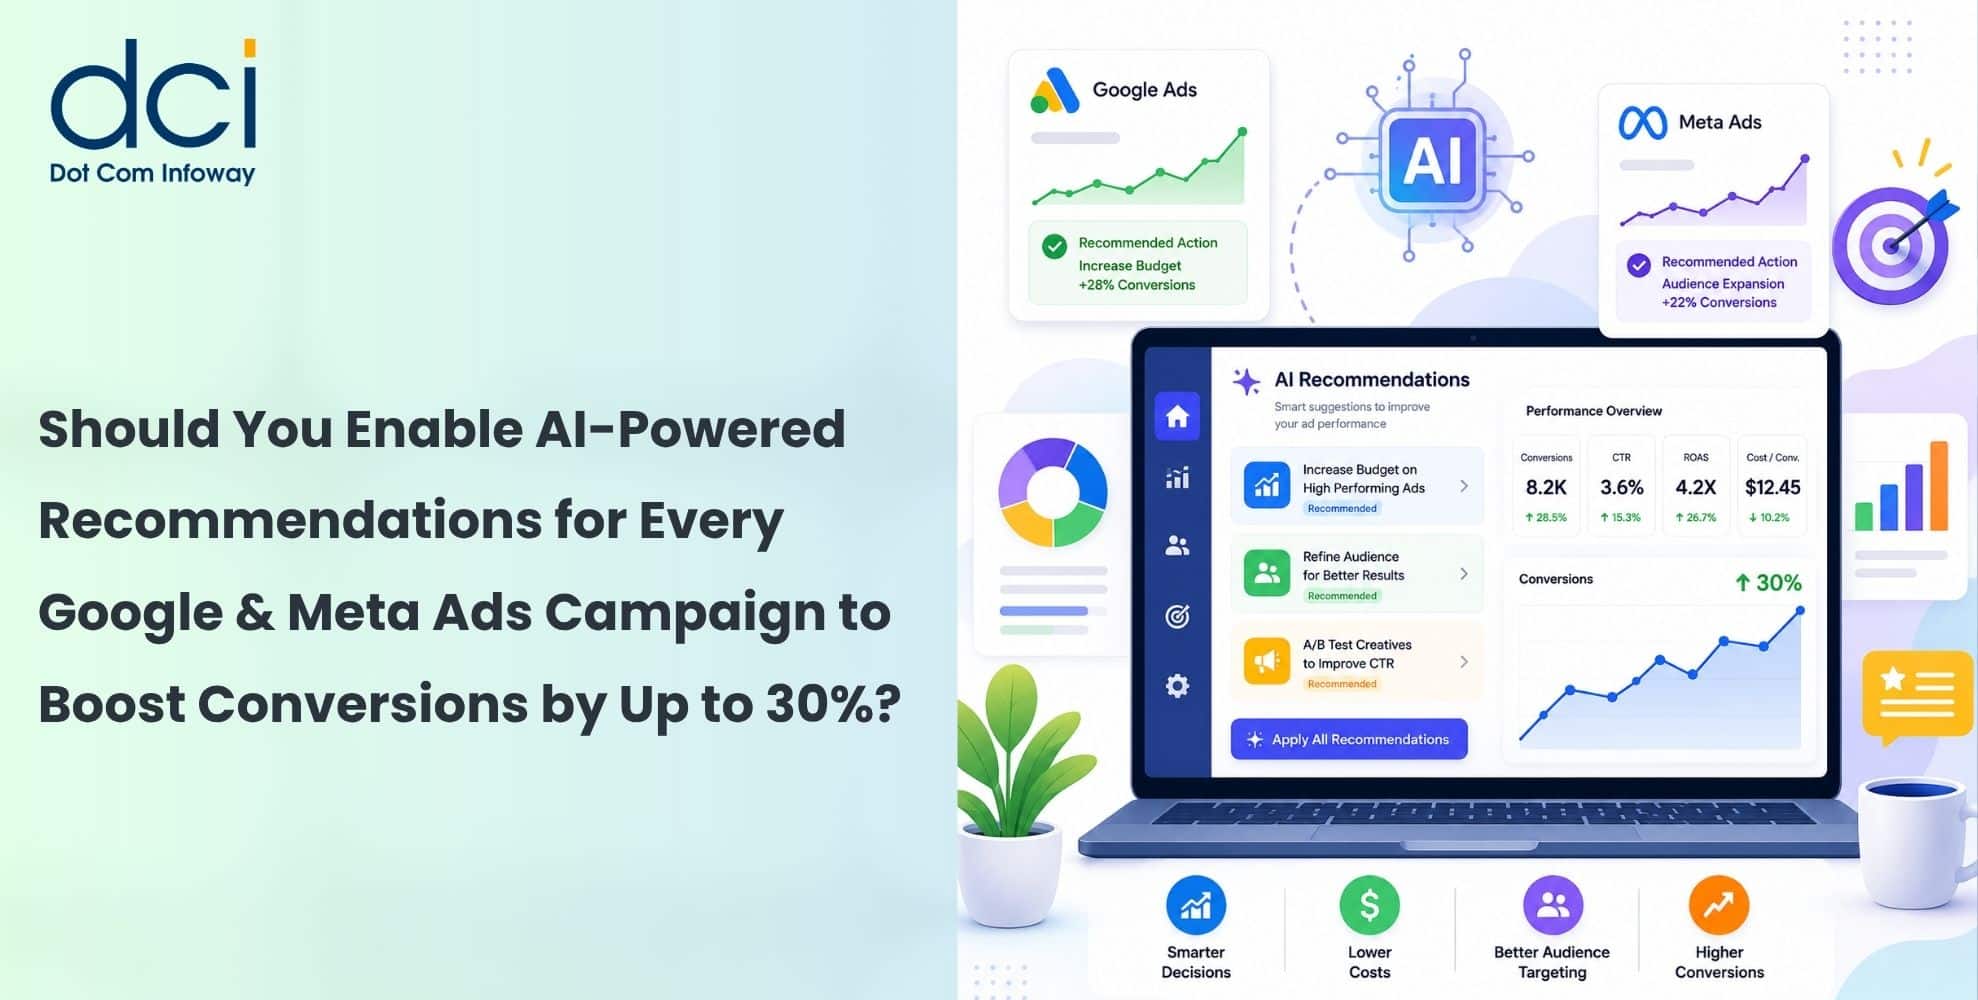
AI-Powered Campaign Recommendations Increase Conversions by Up to 30%-Should They Be Enabled for Every Google and Meta Ads Campaign?
AI-Powered Campaign Recommendations help advertisers improve bidding, targeting, budgets, creatives and campaign structures using real-time performance data. Under suitable conditions, these optimizations may increase conversions by up to 30%. Businesses can also use professional performance marketing services to evaluate...
 July 17, 2026
From Weeks of Video Production to Minutes: How AI Video Generation Can Increase Lead Conversion by Up to 80%
Traditional video production can take weeks of scripting, filming, editing, approvals, and revisions. This limits how quickly businesses can respond to market trends or launch targeted campaigns. AI Video Generation allows marketing teams to create professional videos in minutes...
 July 15, 2026
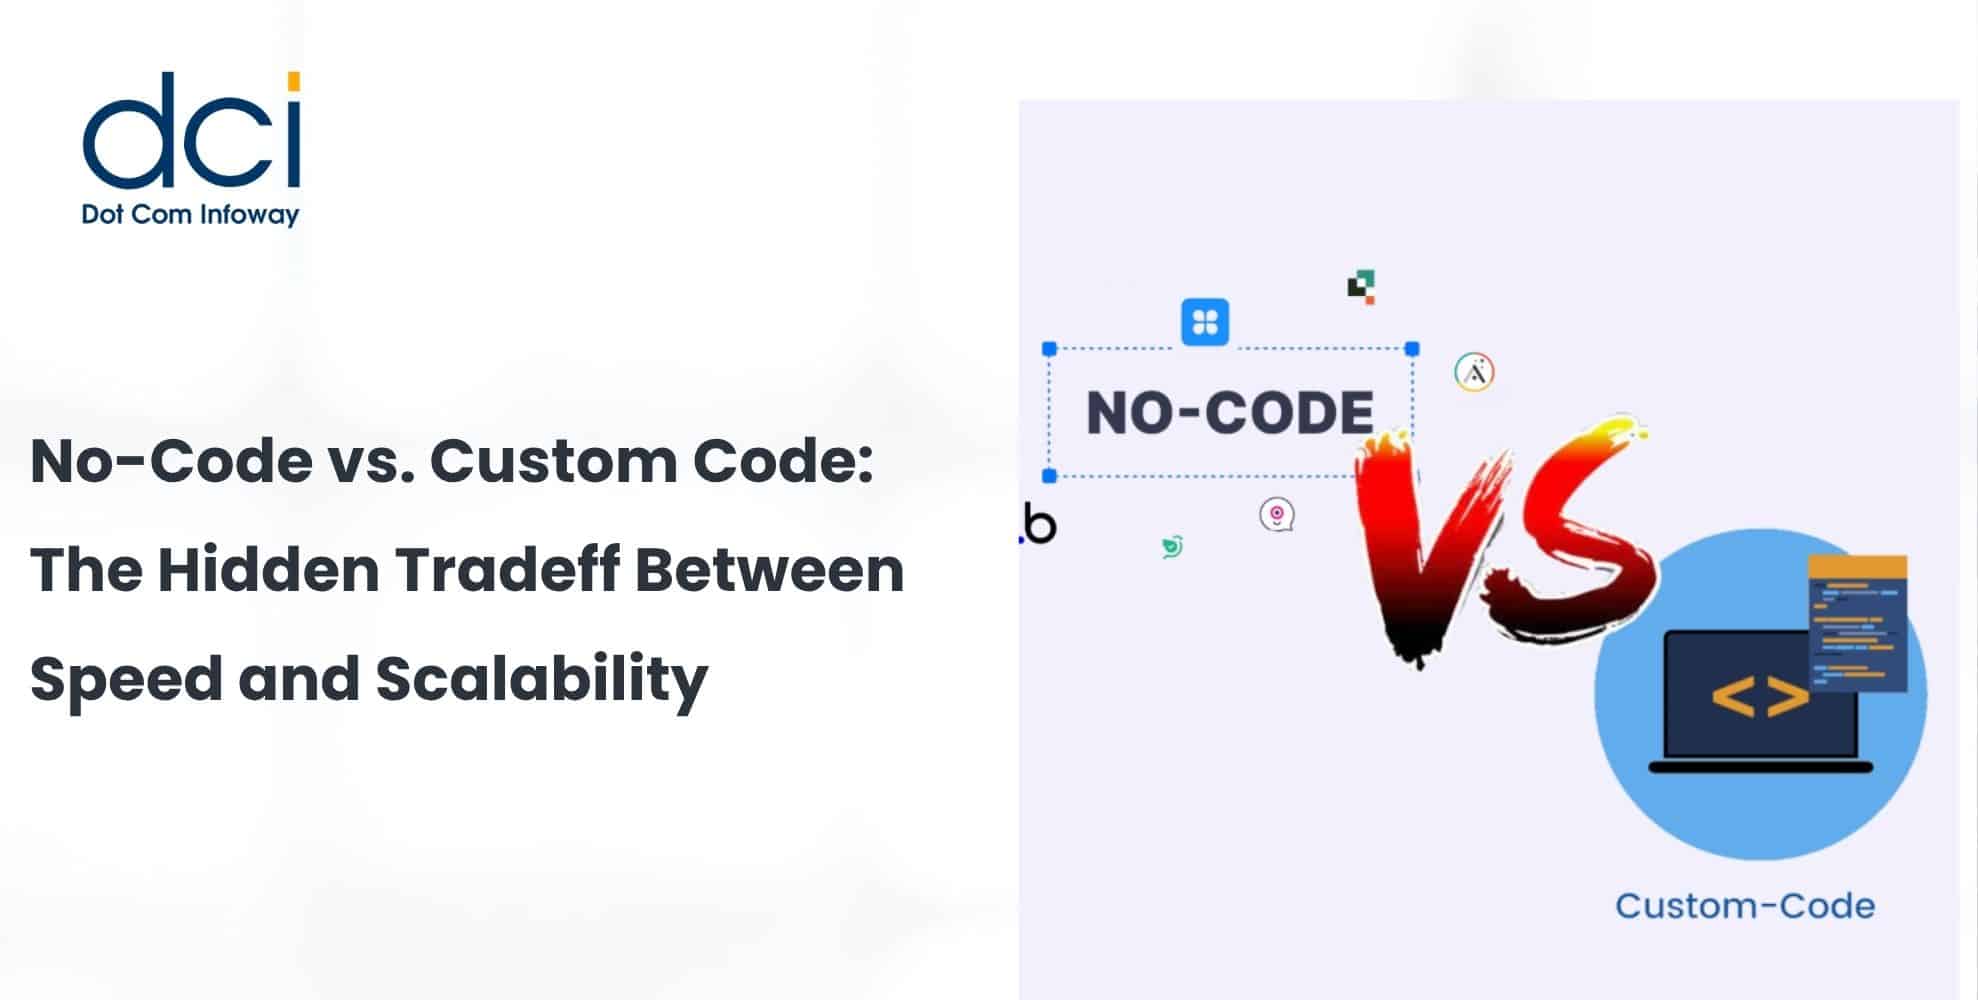
No-Code vs. Custom Code: The Hidden Tradeoff Between Speed and Scalability
For companies under pressure to launch faster and control development costs, no-code vs custom code has become a critical product decision. No-code platforms can accelerate validation and reduce initial investment. Custom development offers greater control over architecture, integrations, performance...
 July 13, 2026
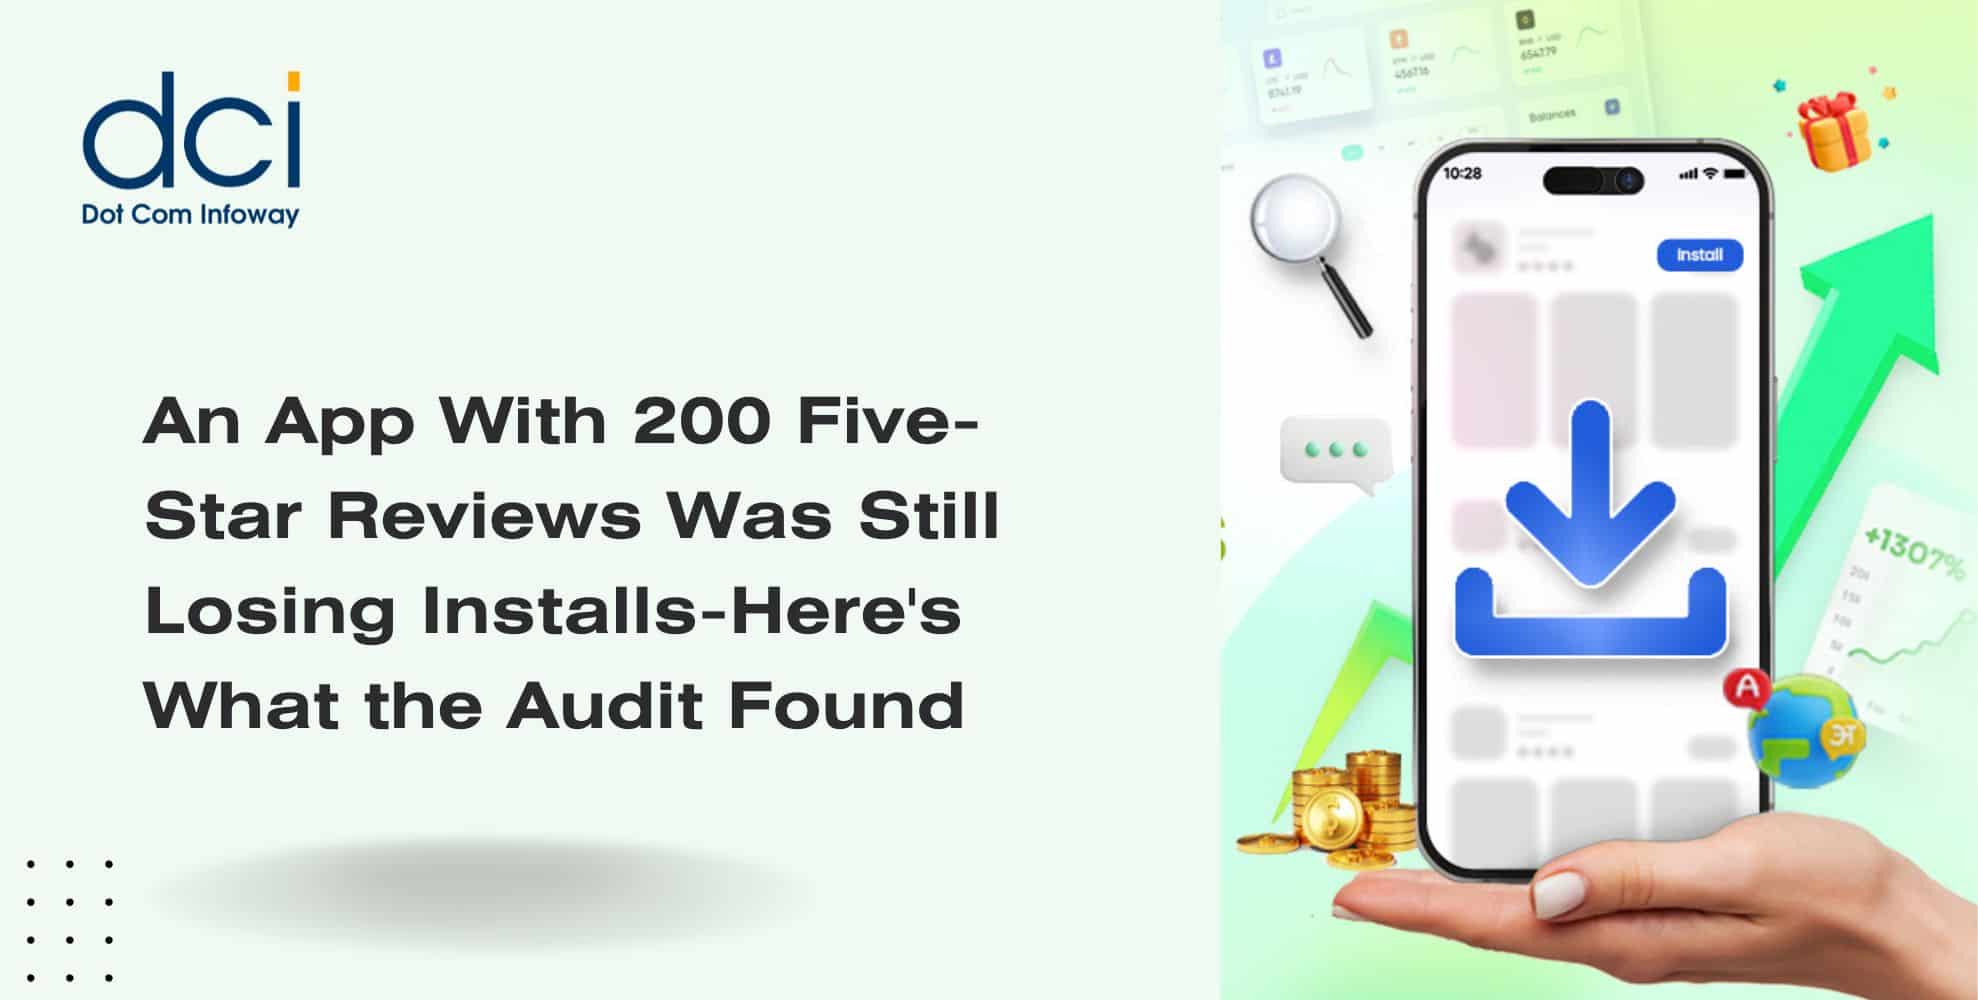
An App With 200 Five-Star Reviews Was Still Losing Installs – Here’s What the Audit Revealed
The app had more than 200 five-star reviews, a rating above 4.7, and consistently positive feedback. Yet product-page traffic was not converting into downloads, paid acquisition costs were rising, and non-branded visibility remained weak.An app store conversion audit revealed...
 July 10, 2026
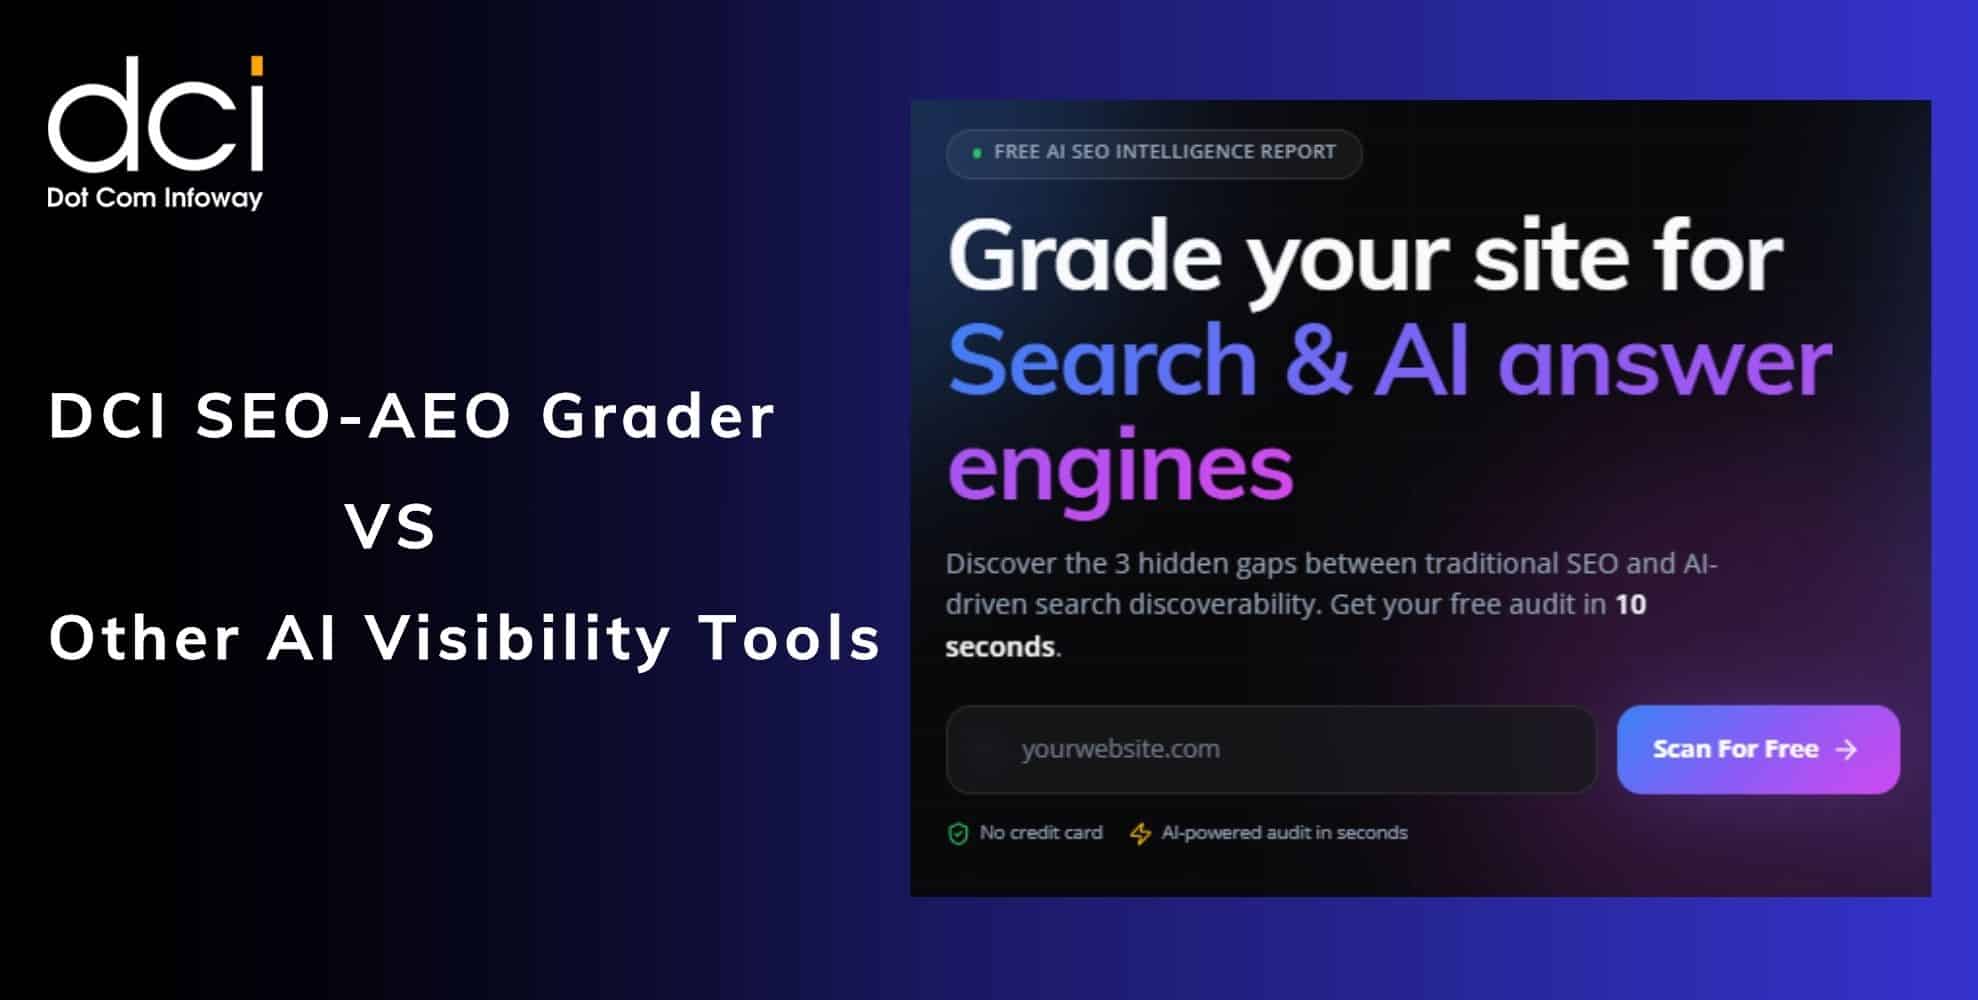
DCI SEO-AEO grader vs other AI visibility tools: what makes ours grade what actually matters
AI visibility is no longer defined only by search rankings. A website may perform well on Google and still remain absent when ChatGPT, Perplexity, Gemini, Copilot, or AI Overviews answer a customer’s question. DCI’s SEO-AEO grader tool evaluates whether...
 July 08, 2026
E-commerce in the zero-click era: how to make sure AI recommends YOUR product when shoppers skip the search results
The e-commerce buying journey is moving beyond traditional search, making AI product recommendations for e-commerce increasingly important. Shoppers now use ChatGPT, Gemini, Perplexity, and Google AI Mode to compare products and make purchase decisions. This creates a new visibility challenge....
 July 06, 2026
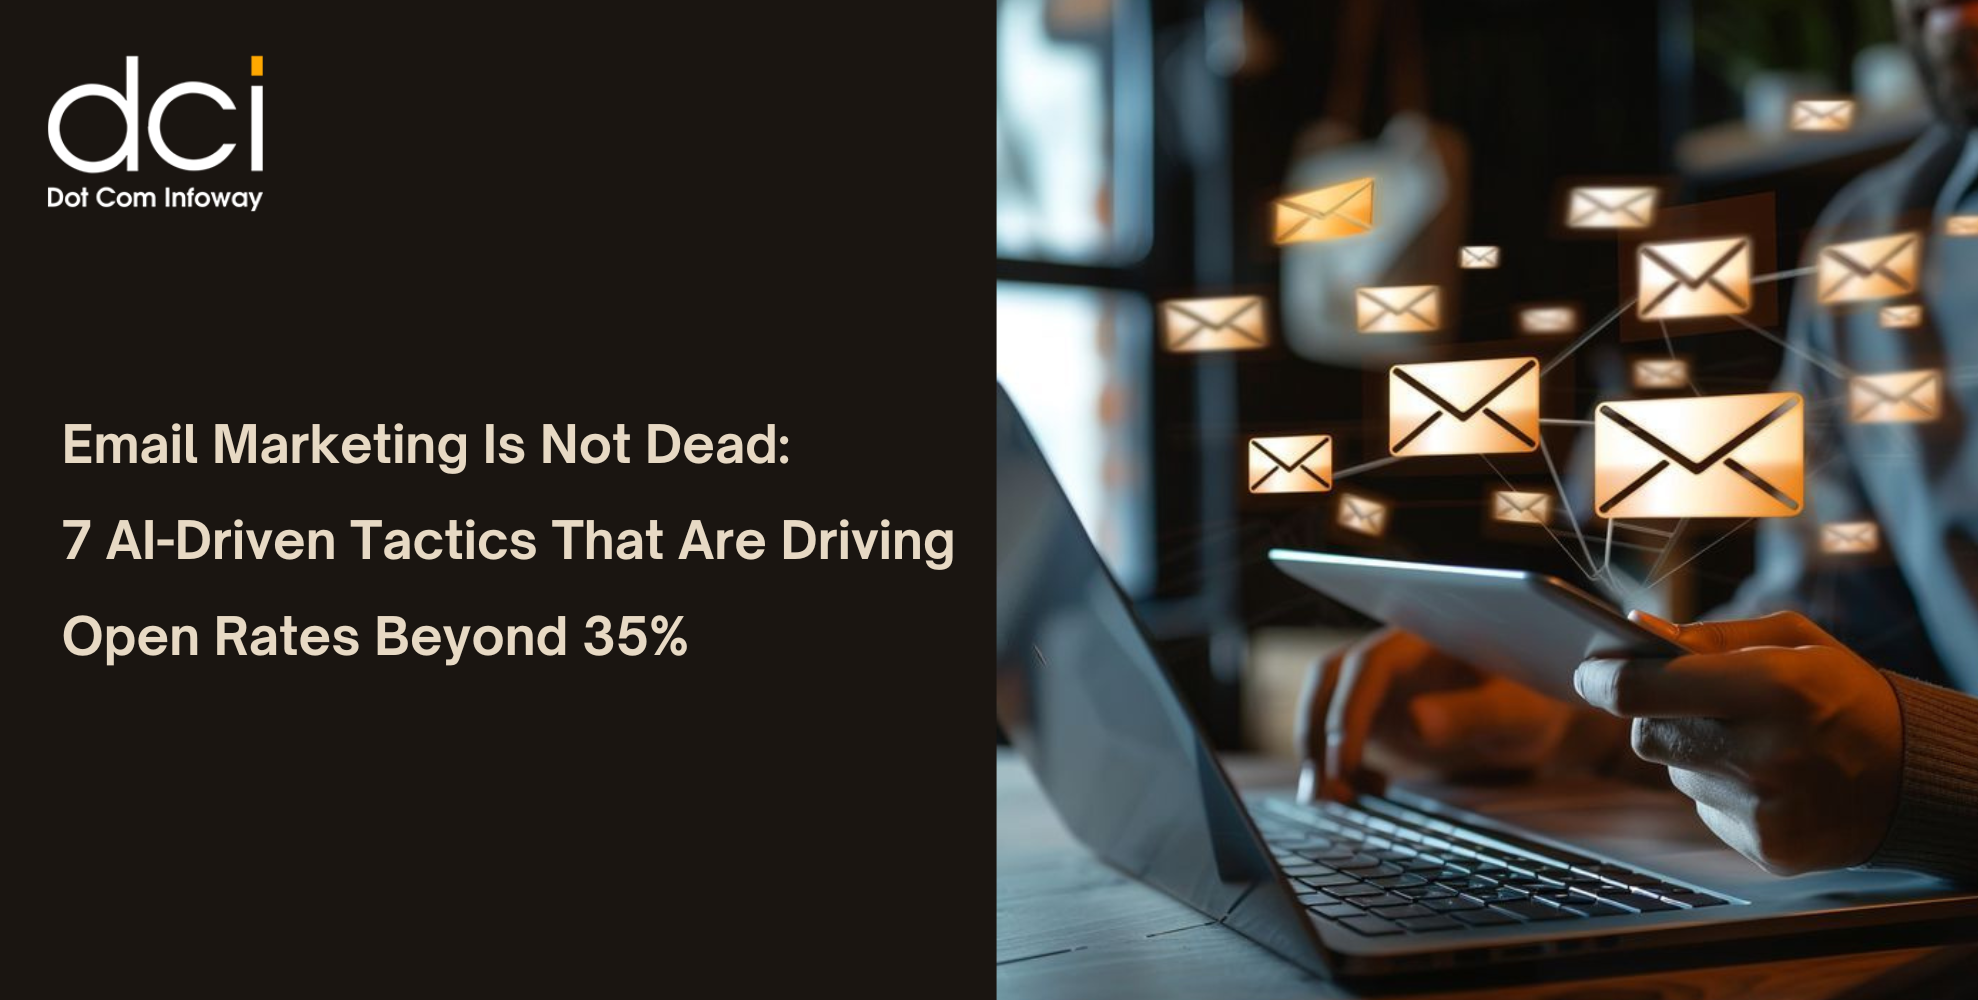
Email Marketing Is Not Dead: 7 AI-Driven Tactics That Are Driving Open Rates Beyond 35%
Email marketing is not dead. Generic email campaigns are. Customers now expect relevant messages based on their interests, behaviour, and buying stage. AI-driven email marketing tactics help businesses replace mass campaigns with predictive segmentation, personalised content, and smarter automation. Achieving...
 June 25, 2026
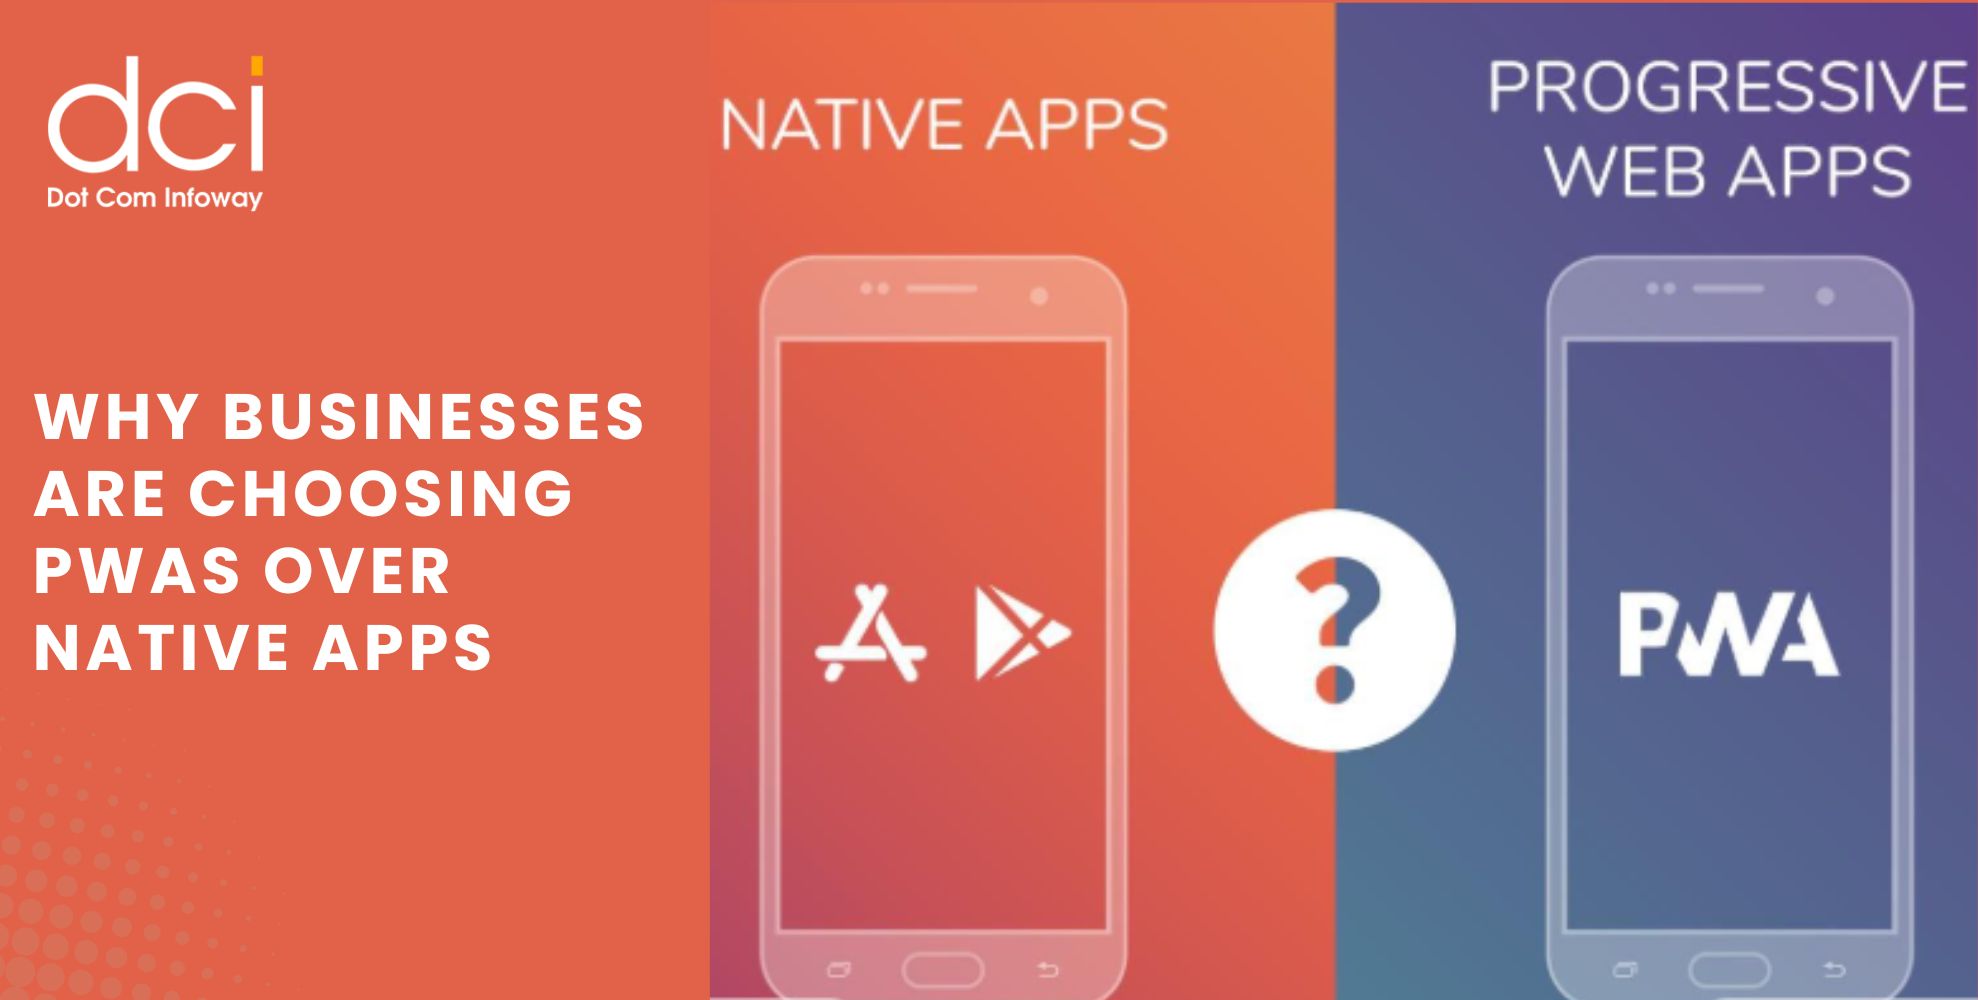
Why Businesses Are Choosing PWAs Over Native Apps: How One Brand Reached 3X More Mobile Users
Mobile users expect fast, reliable, and seamless experiences across devices. As businesses evaluate the best app development service strategies to improve customer engagement and maximize ROI, many are increasingly choosing PWAs Over Native Apps. Progressive Web Apps (PWAs) combine...
 June 22, 2026
50K App Downloads but Poor Retention: Which Metrics Matter More Than Installs?
Getting 50,000 app downloads is a milestone that many businesses celebrate. It often indicates that user acquisition campaigns, app store visibility, and marketing efforts are generating results. However, downloads alone do not determine whether an app is truly successful....
Get the latest insights from Dot Com Infoway straight to your inbox.